
The first one
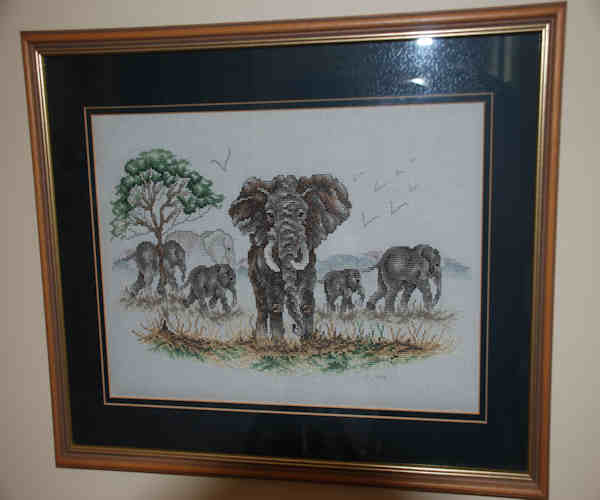
My first ever cross stitch embroidery was a herd of elephants. This was soon followed by many more, mainly wildlife and flowers. Unfortunately for me, I couldn’t easily find the sort of kits I loved. My friend Joy, another cross stitch addict, had the same problem and ‘fed up’ with my moaning, she suggested that I design my own. This was the start of a partnership between us leading to the formation of J Needlecraft.
How my interest in cross stitch began
My blog should start with a warning, cross stitch is seriously addictive! But it is extremely relaxing.
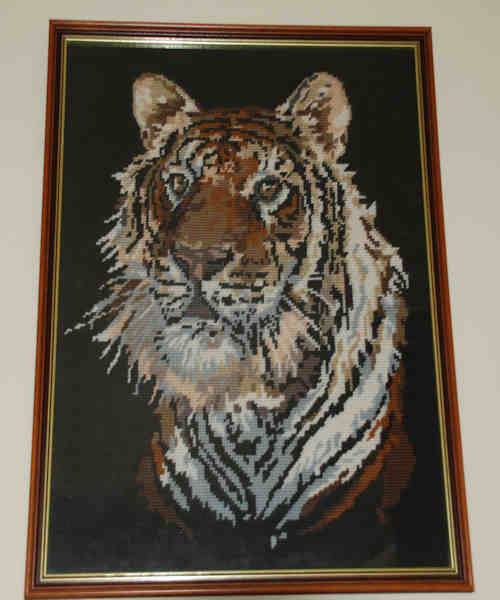
I began my love affair with sewing for pleasure when I was around 18, prior to this I was a keen dressmaker. One day, whilst out on a shopping trip for dress material, I spotted a tapestry kit of a lion. It was so beautiful that I just had to have it! This was soon followed by a tiger and woodland badgers. Then Sheila, my mother-in-law, introduced me to and taught me how to cross stitch. That was it, I was hooked.
Making a start
It is such a long time from when I first started to cross stitch that I never really think about the basics. However, several of my friends have asked “how do you begin?”. Having thought about this, I realised that there are quite a few things that need to be considered before beginning to stitch. So, here goes.

Choosing the material for cross stitch
Materials
Any evenweave fabric can be used to cross stitch. Evenweave fabric is made up of individual threads and in cross stitch it is usual to stitch over two threads, this material is commonly made from linen and is available in a wide range of colours and thread counts, Another form of evenweave fabric is aida, this material is formed into squares for ease of stitching, no threads to count! Aida is also available in a vast choice of colours, counts and styles.
Count
Aida
Count is the number of threads or squares per inch, 14 count aida is probably the most used. It is not too fine but allows for good detail and it is easy to see and count the squares. This is a good cloth to try out if you are new to cross stitching. That said, if you like a kit and it is on a finer linen material give it a go. My elephants were stitched on 32 count Belfast linen, they weren’t the easiest, but I loved the design. I thoroughly enjoyed the challenge and the end result.
Linen
In linen cloth, two threads count as one square. 28 count linen divided by two is 14 therefore, 14 count aida cloth is the equivalent of a 28 count linen. 16 count aida the equivalent of 32 count linen. Any design can be stitched on any fabric. For example, a design made for 14 count aida will look the same but will be smaller if stitched on 16 count aida.
Size of Material
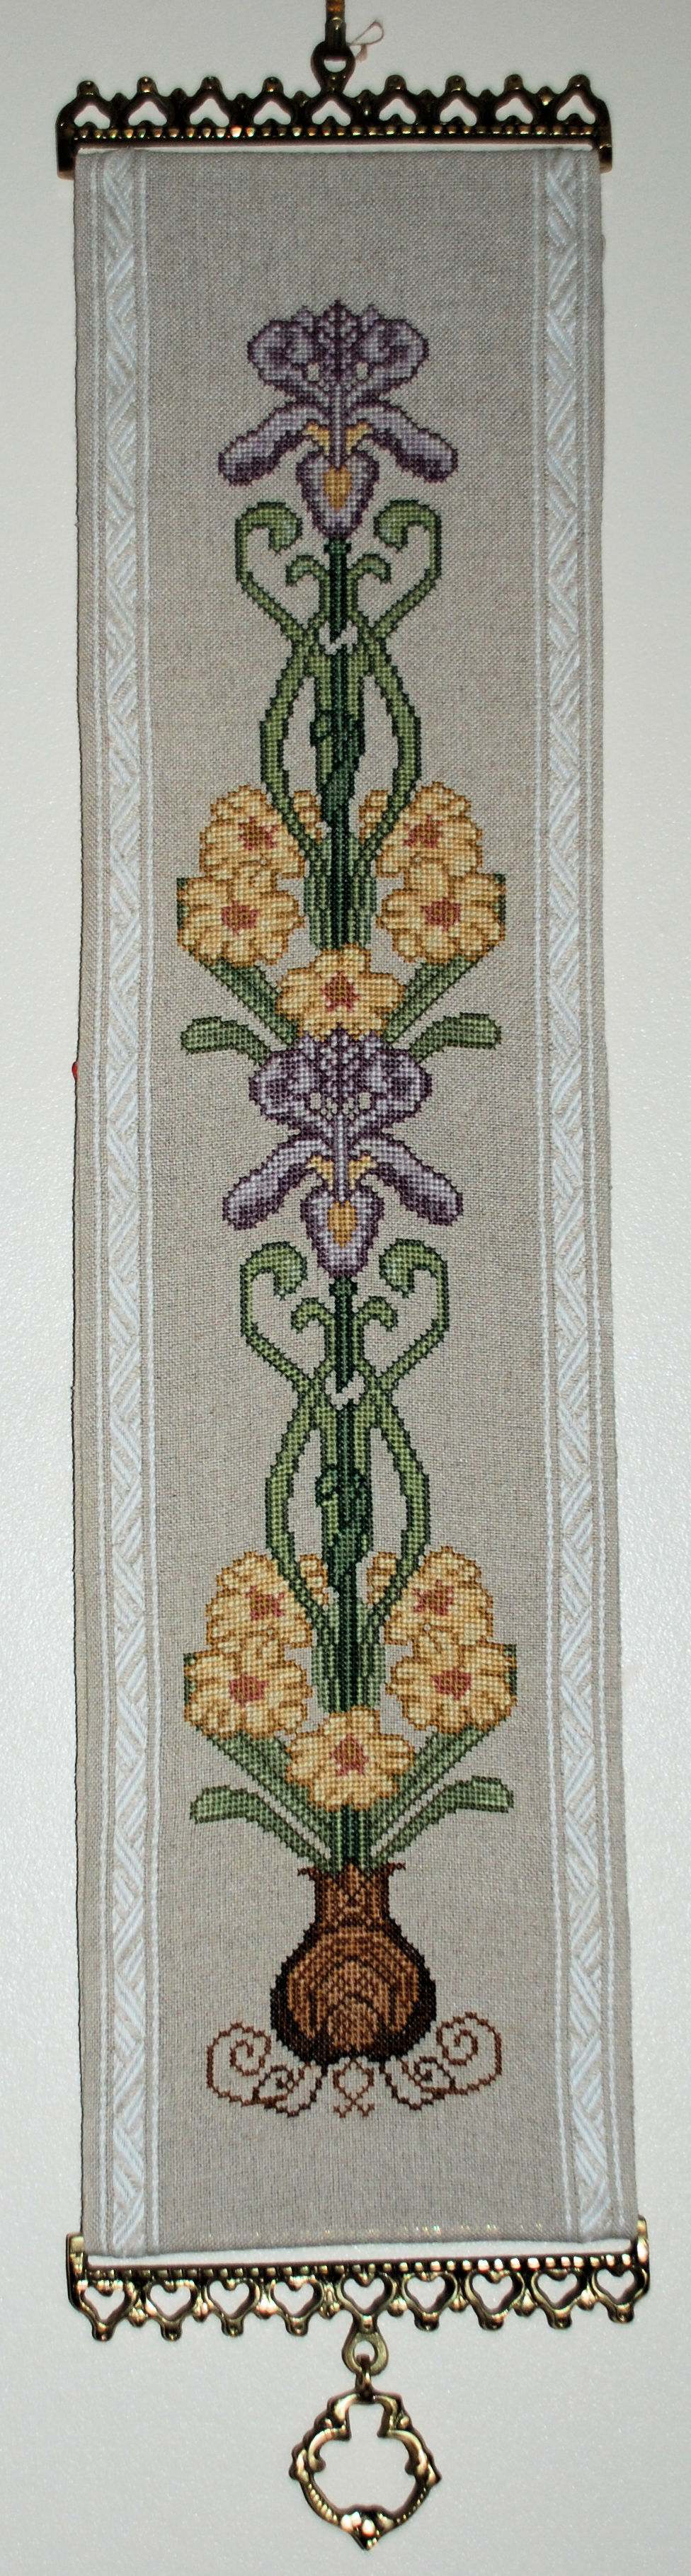
A purchased cross stitch kit will contain the correct size of the material. However, If you are stitching from a chart, it should state in stitches the width and height of the design. So if the design is 112 stitches wide by 140 high and the cloth used is 14 count aida, then the embroidery will take up a space of 8 x 10 inches (112/14 =8, 140/14 = 10). It is wise to leave 3 – 4 inches around the design, so the approximate size of the material required would be 16 x 18 inches ( 4 + 8 + 4 = 16 x 4 + 10 + 4 = 18), this is to allow for plenty of spare fabric for framing. On a smaller design, a Christmas card for instance, the material needs to be small enough to fit inside the card provided, so there will be very little spare fabric. Some kits like bookmarks and bell pulls might be stitched on material that has a finished edge.
Preparing the Cloth for Stitching
Protecting the material from fraying
Both aida and linen fabrics will fray unless the edges are protected. There are many ways of doing this and you will discover your favourite.
Sellotape
The quickest way is to edge the material with sellotape or drafting tape. I’m not a fan of this method as it leaves a hard edge which may catch on the thread as it is stitched. When the tape is removed on completion of the project, it leaves a dirty, sticky residue. This is not a problem if there is enough spare fabric to enable it to be cut away.
Finding the Centre
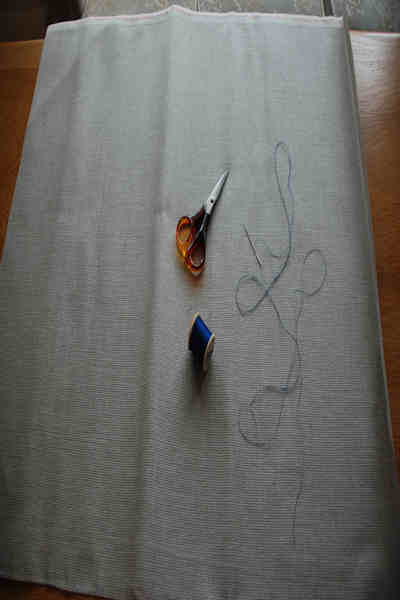
Ready for Hemming
Machine Stitching
Another quick way is to machine around the material using a zig-zag stitch, this is only practical if there is an easily accessed sewing machine. On smaller projects I have sometimes blanket stitched the edges. The finished project needs to have flat edges that have not frayed so there are no ridges in the material when it goes for framing.
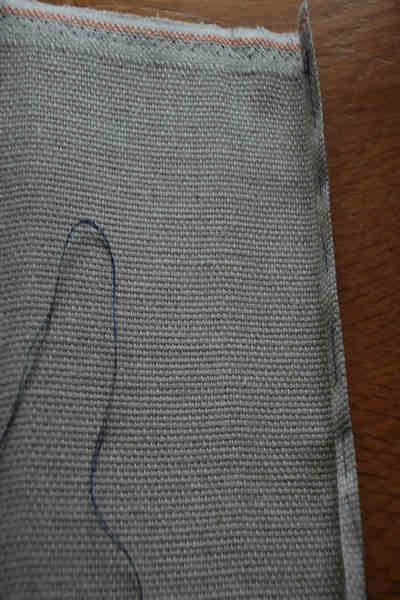
Making the Hem
Hemming
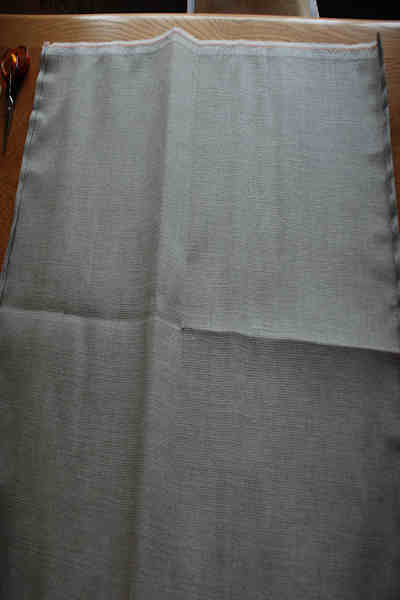
My personal favourite method is to turn a small double hem. It is a good idea to mark the centre of the material before the hem is made. This is easily and quickly achieved by folding the material in half and in half again. Run your hand along the folds and put a marker thread into the the point where the two folds meet. I do not go to a great deal of effort with this hem, I simply fold the edges over twice and sew in place using a fairly large running stitch. Keep the hem as narrow as possible. When the project is finished and ready for framing, this hem is easily undone and the material can be ironed flat.
Recent Comments